


How to Build a Stone Sample Board for Your Atlanta Remodel Project
How to Build a Stone Sample Board for Your Atlanta Remodel Project
When embarking on a remodeling project in Atlanta, one of the most critical steps is selecting the right materials for your surfaces. A stone sample board is an invaluable tool that allows you to visualize and compare different stone options, ensuring that the final result aligns with your design vision. In this article, we’ll guide you through the process of building a stone sample board tailored to your Atlanta remodel project.
Why Create a Stone Sample Board?
Creating a stone sample board serves several purposes:
- Visualize Combinations: It allows you to see how different stones work together, including color, texture, and style.
- Compare Options: A sample board enables you to compare various stones side by side, making it easier to choose your favorites.
- Informed Decisions: With a tangible representation of your choices, you can make more informed decisions about your remodel, avoiding costly mistakes.
Step 1: Gather Materials
Before you start building your sample board, you need to gather the necessary materials:
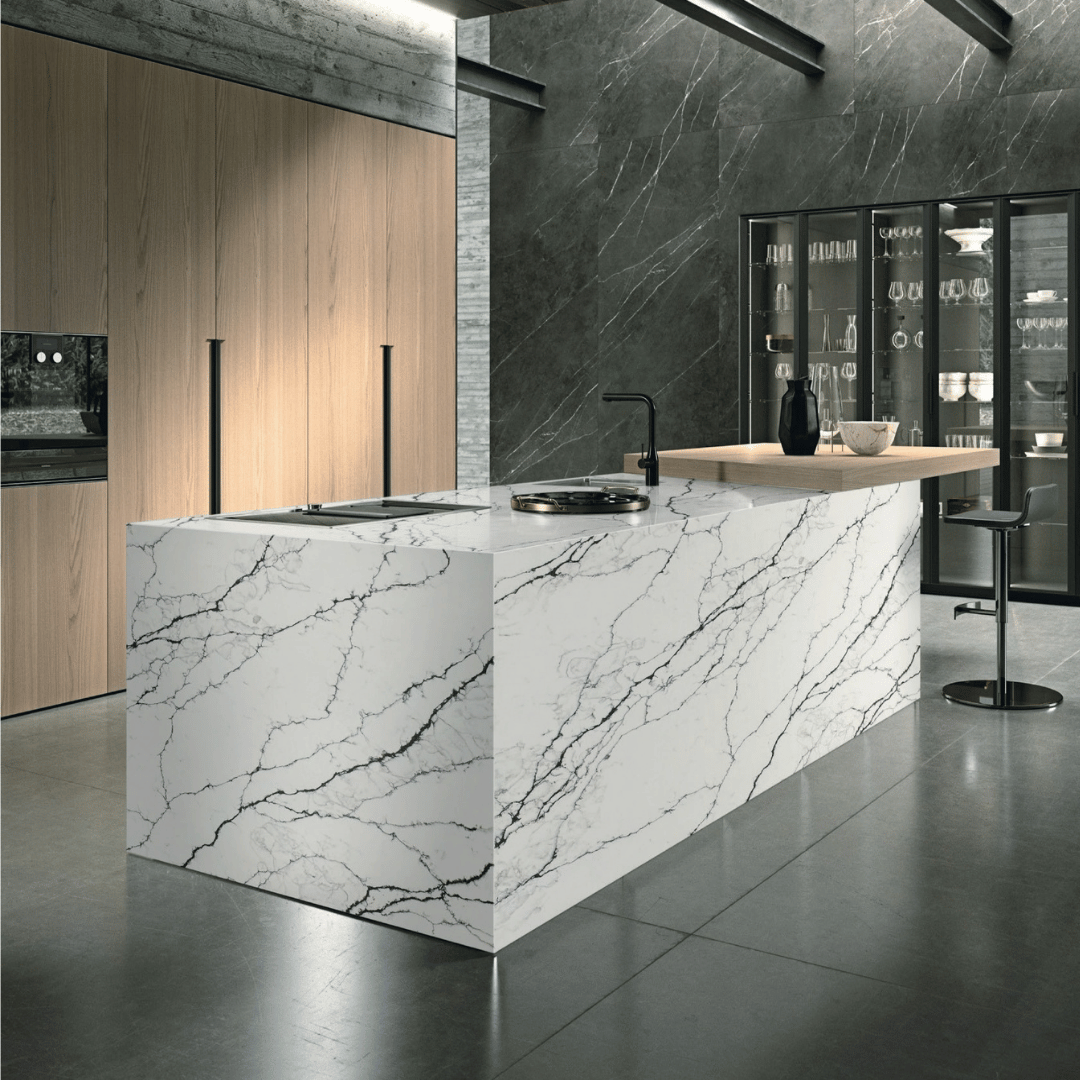
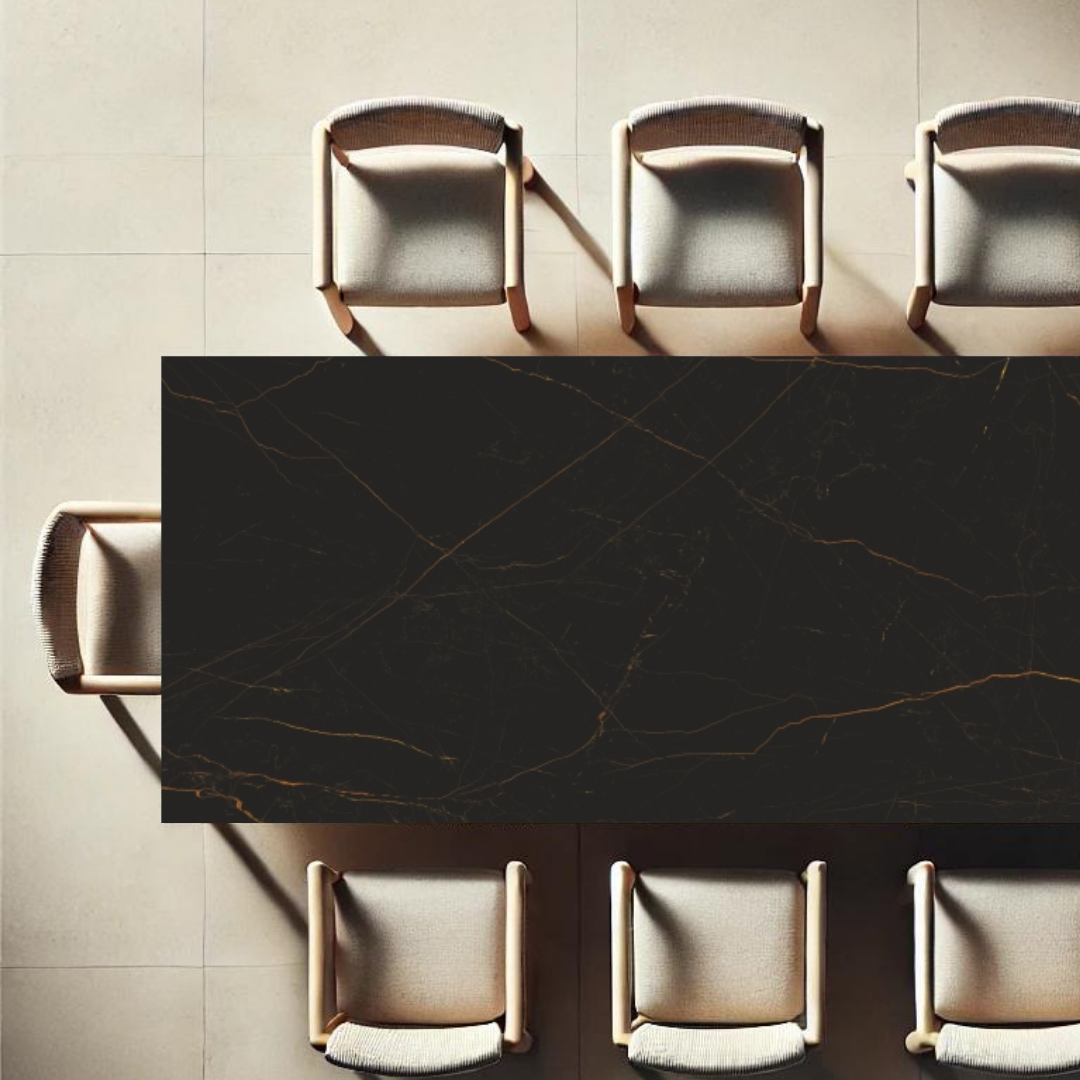
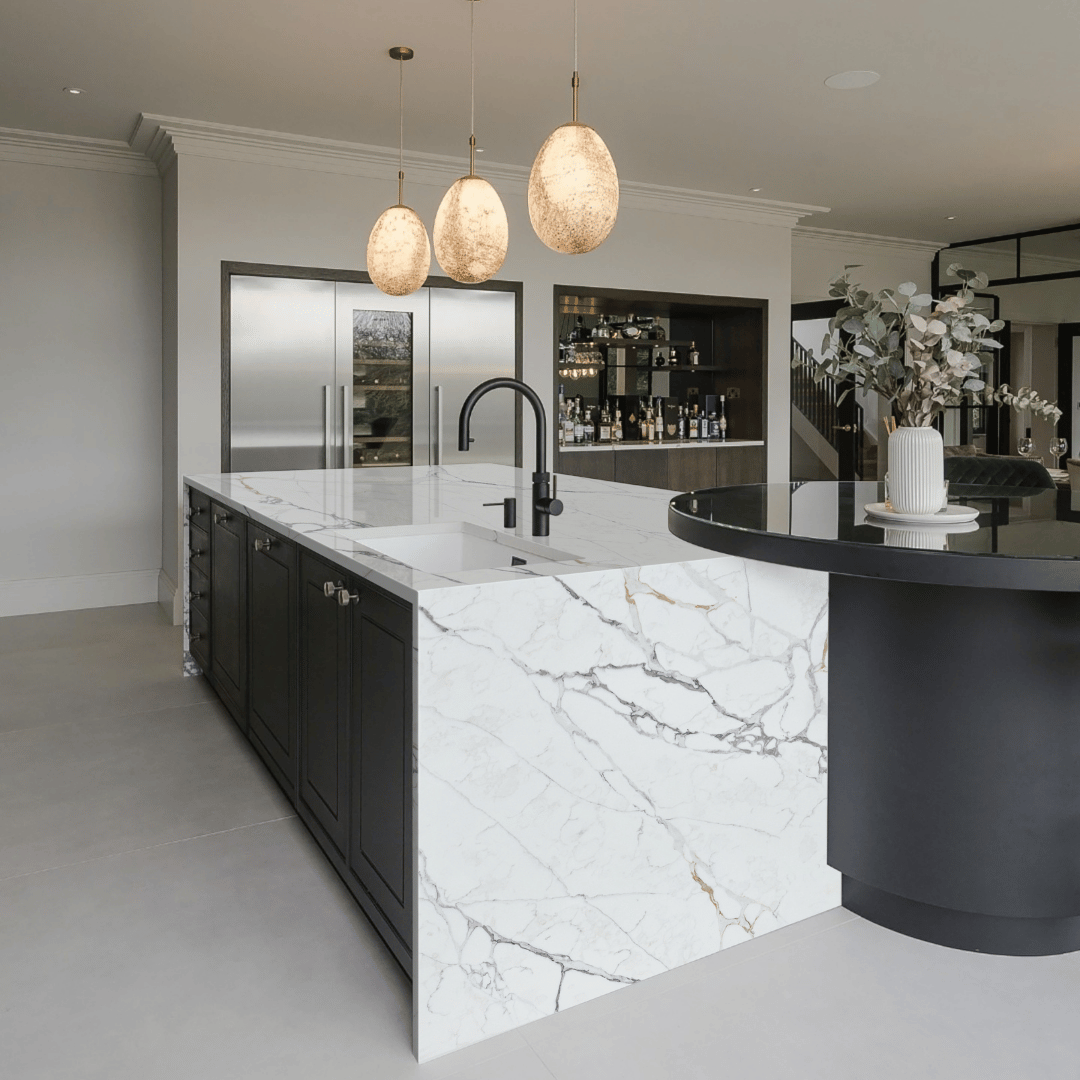
- Stones: Choose a selection of stones that you are considering for your project, including quartz, granite, quartzite, and porcelain.
- Sample Board Base: Use a sturdy base such as a piece of plywood, foam board, or a large piece of cardboard to affix your samples.
- Adhesive: Depending on the stones chosen, you may need a strong adhesive or double-sided tape to secure the samples.
- Utility Knife or Scissors: Use these for cutting your board or samples to the desired size.
- Labeling Materials: Have markers, labels, or a label maker on hand to identify each sample clearly.
Step 2: Select Your Stone Samples
Visit local suppliers like Builder Stone Global to explore your options. Consider the following when selecting stones:
- Color Palette: Think about the overall color scheme of your remodel and choose stones that complement it.
- Texture: Consider the texture of the stones—smooth, polished, matte, or rough can all influence the feel of your space.
- Durability: Different stones have varying levels of durability and maintenance requirements, so choose based on the intended use.
Step 3: Cut and Prepare Your Samples
Once you have selected your stones, it’s time to prepare them:
- Cut Samples: If your samples are large, cut them into manageable sizes that will fit on your sample board.
- Polish Edges: If necessary, polish any rough edges to ensure safety and aesthetics.
Step 4: Arrange Your Samples on the Board
Now it’s time to arrange your stone samples on the board:
- Placement: Start by placing the largest samples first, then fill in with smaller pieces to create a balanced look.
- Group Similar Stones: Group similar colors or textures together to see how they contrast or complement each other.
- Leave Space: If you have additional samples to consider later, leave space on your board for future additions.
Step 5: Secure the Samples
Once you are satisfied with the arrangement, secure the samples to your board using your chosen adhesive:
- Apply Adhesive: Use an appropriate adhesive to attach each stone securely. Ensure that it is strong enough to hold the weight of the stones.
- Allow to Set: Let the adhesive cure as per the manufacturer’s instructions before moving your board.
Step 6: Label Your Samples
Clearly labeling your samples is crucial for future reference:
- Include Details: Write the name of the stone, its color, and any other relevant information such as maintenance requirements or cost.
- Use Clear Labels: Use clear, easy-to-read labels that won’t get lost in the shuffle.
Step 7: Use Your Sample Board
Your stone sample board is now complete! Utilize it in the following ways:
- Design Discussions: Bring it to meetings with designers, architects, or contractors to facilitate discussions.
- Visual Reference: Use it as a visual reference when selecting paint colors, fixtures, and other design elements.
- Showcase Options: Share it with family and friends to gather feedback on your choices.
Conclusion
Building a stone sample board is a practical step in ensuring that your Atlanta remodel project turns out exactly as you envision. By carefully selecting and arranging your stone samples, you can create a visual aid that will guide you in making informed decisions. Don’t forget to reach out to local suppliers like Builder Stone Global for high-quality options that can elevate your space. Happy remodeling!
For more information about our premium quartz, porcelain, and natural stone slabs, contact our team or check our live inventory.