
The Complete Guide to Porcelain Slab Adhesive and Installation System Requirements
The Complete Guide to Porcelain Slab Adhesive and Installation System Requirements
Updated on August 14, 2026
When it comes to enhancing the aesthetic appeal and functionality of architectural spaces, porcelain slabs stand out as a premium choice. As a leading quartz slab distributor in Norcross, GA, Builder Stone Global understands that the installation process is just as crucial as the selection of high-performance materials. In this comprehensive guide, we will delve into the nuances of porcelain slab adhesive and installation system requirements, ensuring that your project achieves the architectural elegance you envision.
Understanding Porcelain Slabs
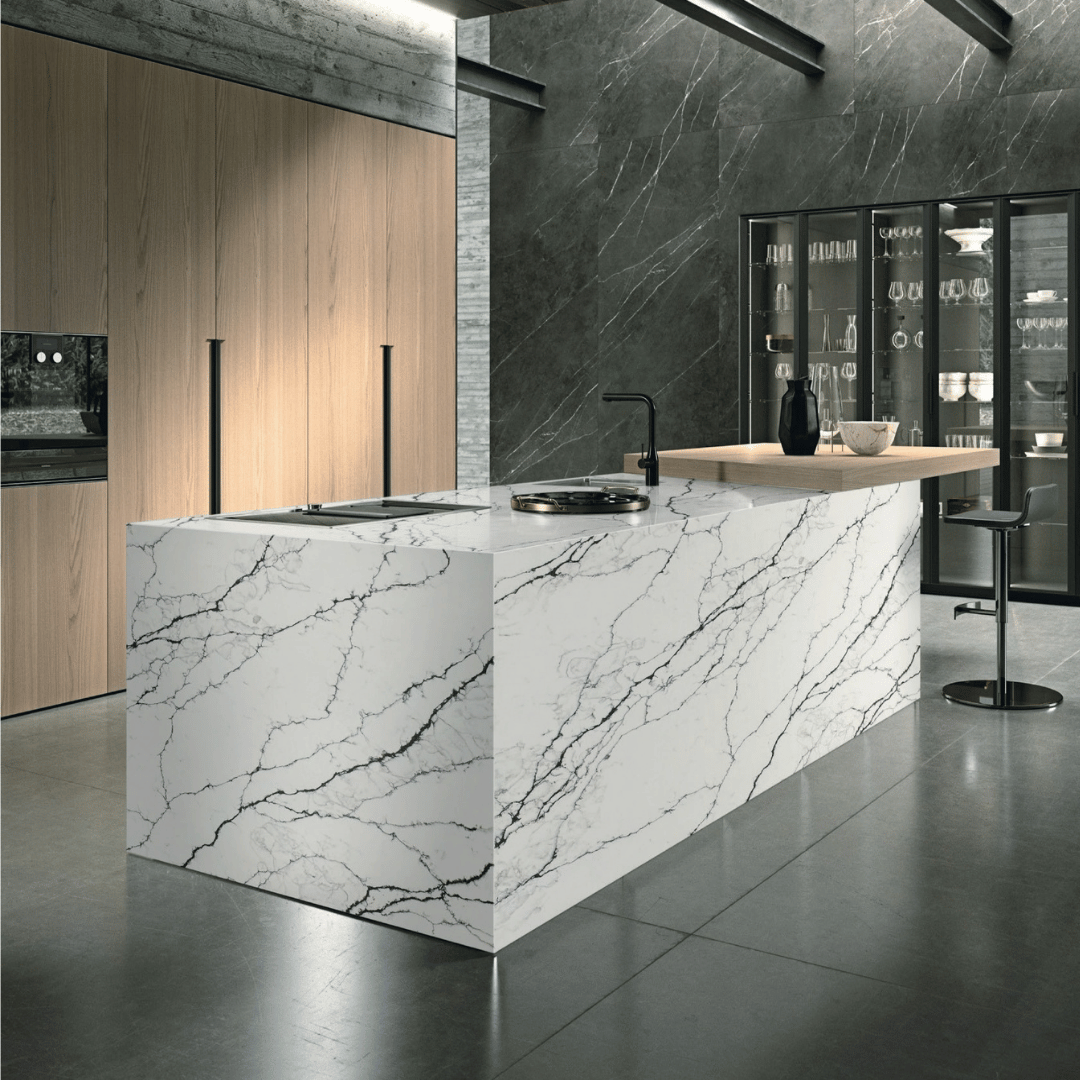
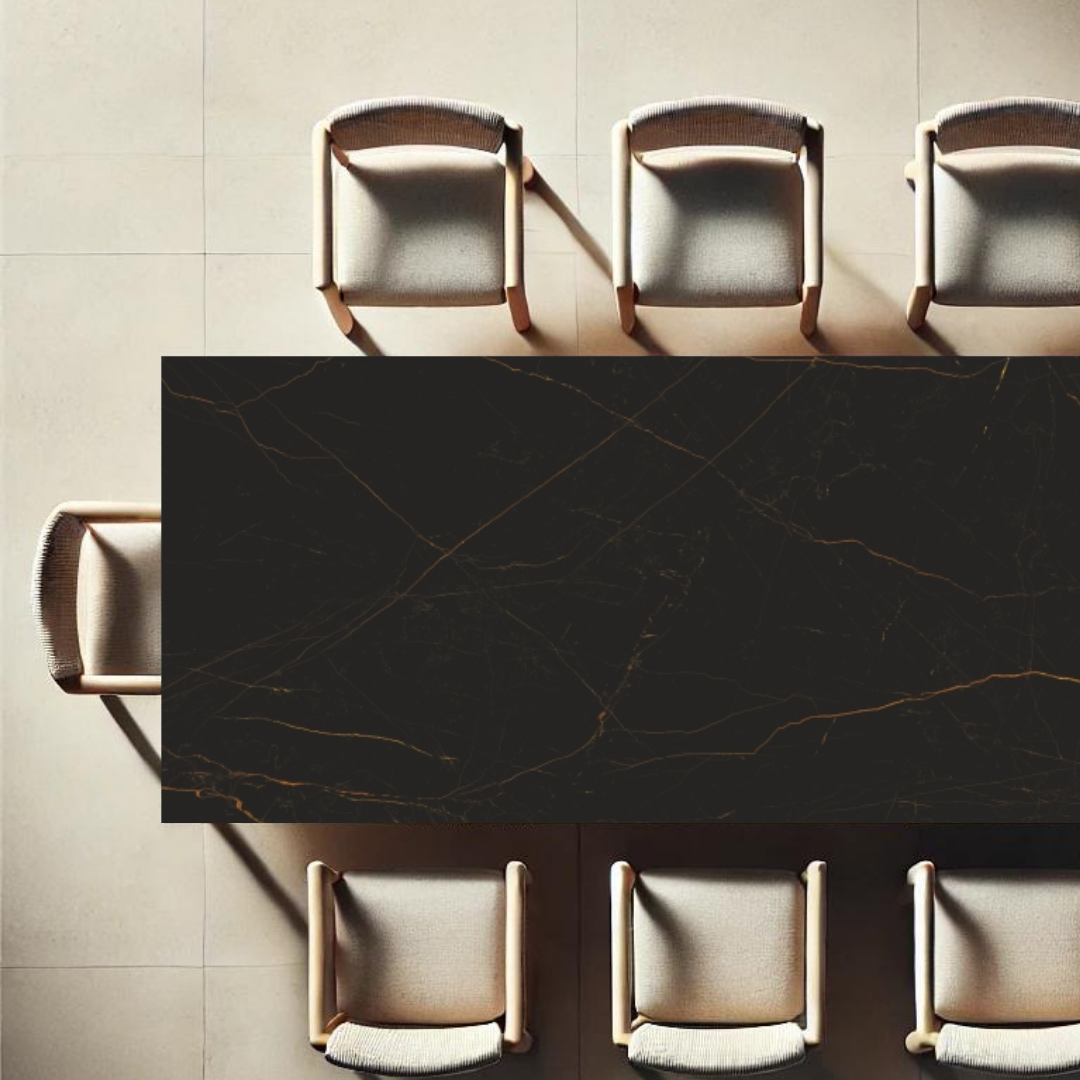
Porcelain slabs are engineered from a blend of natural clay, feldspar, and other minerals, fired at extremely high temperatures to create a dense, durable surface. They are known for their low porosity, making them resistant to stains and moisture, which is essential for both interior and exterior applications. With a variety of finishes, colors, and patterns available, porcelain slabs offer versatility for designers and homeowners alike.
In comparison to natural stone, porcelain slabs provide a uniform appearance and are less prone to cracking and chipping. According to a study by the National Institute of Standards and Technology, porcelain surfaces can withstand heavy foot traffic and resist thermal shock, making them ideal for high-end applications.
Adhesives for Porcelain Slabs
Choosing the right adhesive is critical for the successful installation of porcelain slabs. The adhesive must accommodate the unique properties of porcelain, including its weight and density. Here are some key considerations:
- Type of Adhesive: Thin-set mortar is the most common adhesive used for porcelain slabs. It is designed to provide a strong bond while allowing for slight movement.
- Flexibility: Given the potential for expansion and contraction, it’s essential to select a flexible adhesive that can accommodate these changes without compromising the bond.
- Moisture Resistance: Since porcelain is often used in wet environments, moisture-resistant adhesives are necessary to prevent deterioration.
- Setting Time: Fast-setting adhesives can expedite the installation process, but they require careful handling to avoid premature adhesion.
For optimal performance, consider using a high-performance thin-set mortar that meets ANSI A118.4 standards, which ensures durability and flexibility. When purchasing adhesive, always check for compatibility with your chosen porcelain slab material.
Installation System Requirements
Before beginning the installation of porcelain slabs, understanding the system requirements is crucial. This includes assessing the substrate, preparing the surface, and ensuring the right tools are available. Here are the main components:
1. Surface Preparation
The substrate must be clean, dry, and structurally sound. Any existing flooring should be removed, and the surface should be leveled. A flat surface is essential for preventing cracks and ensuring even adhesion.
2. Tools and Equipment
Essential tools for the installation include:
- Trowels (notched for adhesive application)
- Tile spacers
- Level
- Wet saw or tile cutter
- Grout float
- Sponge for cleaning
3. Adhesive Application
Follow the manufacturer’s instructions for the adhesive application. Typically, a notched trowel is used to spread the adhesive in a consistent layer across the substrate. Ensure that the notches are deep enough to provide adequate coverage and bonding strength.
4. Setting the Slabs
Carefully place the porcelain slabs onto the adhesive, using spacers to maintain consistent grout lines. It is vital to press down firmly to ensure a strong bond and eliminate air pockets.
Step-by-Step Installation Process
To ensure a successful installation, follow these detailed steps:
- Prepare the Substrate: Remove any old flooring and ensure the surface is clean and level.
- Choose the Right Adhesive: Select a high-performance thin-set mortar that meets your project’s needs.
- Mix the Adhesive: Follow the manufacturer’s instructions to mix the adhesive to the proper consistency.
- Apply the Adhesive: Use a notched trowel to spread the adhesive evenly across the substrate.
- Set the Slabs: Begin placing the slabs, ensuring they are aligned and spaced appropriately.
- Cut Slabs as Necessary: Use a wet saw to cut slabs to fit around edges and corners.
- Allow to Cure: Let the adhesive cure as per the manufacturer’s recommendations before grouting.
- Grout the Joints: After the adhesive has set, apply grout to the joints using a grout float.
- Clean the Surface: Wipe away excess grout with a damp sponge before it dries.
- Seal if Necessary: Some porcelain slabs may require sealing; check the manufacturer’s guidelines.
Common Mistakes to Avoid
Even experienced installers can make mistakes that compromise the integrity of the installation. Here are some pitfalls to avoid:
- Inadequate Surface Preparation: Failing to properly clean and level the substrate can lead to cracks and uneven surfaces.
- Using the Wrong Adhesive: Not all adhesives are suitable for porcelain. Ensure compatibility to prevent failure.
- Ignoring Manufacturer Instructions: Always adhere to the specific guidelines provided by the adhesive and slab manufacturers.
- Skipping Expansion Joints: Properly planning for expansion joints can prevent cracking due to thermal expansion.
Maintenance and Care
Once your porcelain slabs are installed, proper maintenance is essential to preserve their beauty and longevity. Here are some maintenance tips:
- Regular Cleaning: Use a soft cloth and pH-neutral cleaner to wipe down the surface.
- Avoid Harsh Chemicals: Stay away from acidic or abrasive cleaners that can damage the surface.
- Inspect Grout Lines: Regularly check grout lines for signs of wear and reapply grout if necessary.
- Seal if Required: If your porcelain slabs require sealing, follow the manufacturer’s recommendations for frequency.
Expert Insights and Tips
Additionally, consider consulting with a surface specialist at Builder Stone Global for personalized advice tailored to your specific project needs. Our team is available to assist with product selection and installation strategies that align with your design vision.
FAQs
What is the best adhesive for porcelain slabs?
The best adhesive for porcelain slabs is a high-performance thin-set mortar that is moisture-resistant and flexible.
Can I install porcelain slabs over existing tile?
Yes, as long as the existing tile is secure and the surface is level, you can install porcelain slabs over it.
How do I maintain porcelain slabs?
Regular cleaning with a soft cloth and pH-neutral cleaner is recommended. Avoid harsh chemicals that can damage the surface.
What are common mistakes when installing porcelain slabs?
Common mistakes include inadequate surface preparation, using the wrong adhesive, and ignoring manufacturer instructions.
Do porcelain slabs require sealing?
Some porcelain slabs may require sealing; always check the manufacturer’s guidelines.
How long does it take for porcelain slab adhesive to cure?
The curing time for porcelain slab adhesive varies by product; typically, it can take 24-48 hours before grouting.
Can I use porcelain slabs outdoors?
Yes, porcelain slabs are suitable for outdoor use due to their durability and resistance to moisture and stains.
What is the weight of porcelain slabs?
The weight of porcelain slabs varies based on thickness and size; typically, they range from 10 to 30 pounds per square foot.
In conclusion, understanding the adhesive and installation system requirements is essential for achieving a successful porcelain slab installation. With the right materials, techniques, and care, you can create stunning architectural surfaces that stand the test of time. For more information or to explore our extensive inventory of premium porcelain slabs, contact us or check our live inventory today.